March 28, 2021
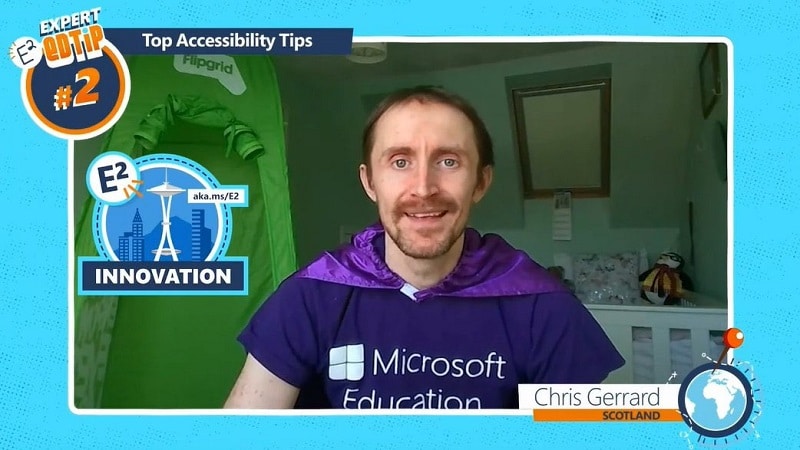
In this article Chris Gerrard provides useful tips and strategies to make learning accessible in every classroom

The importance of making learning accessible for everyone
The move to remote, or distance learning models has provided many challenges for educators and students alike such as a lack of devices, connectivity issues and a lack of confidence with digital tools. It has also brought with it many accessibility challenges. Students are facing more written text than ever before, convoluted instructions and scanned copies of textbook pages with illegible text. This transition has been difficult for all students but especially for those with additional support needs and disabilities. The question is how do you make learning accessible for all, regardless of where the learning is taking place?
I first started working in the field of additional support needs in 2007 and have been able to see first-hand the life changing impact digital technology can have. Here are some of my recommendations on how you can make learning accessible both during the current situation and beyond.
The Devices
Regardless of which device you and your students are using, the key is becoming familiar with the inbuilt accessibility tools already available on the device. The great thing about these features is that they are integrated without the need for installing any additional elements. They can be accessed any time, any place and without asking – accessibility by default.
In my current role, I am very fortunate to be supporting one of the world’s largest iPad deployments where over 50,000 iPads have been given out to teachers and students in the area. The iPad has some fantastic accessibility features available through settings: Voice over, Magnifier, Audio Descriptions and Spoken Content are just some of the features can enabled with a few presses of the screen.
Prior to that I mainly worked with Windows devices with my students and for accessibility, there is the Ease of Access Centre. Many of these features can be accessed using keyboard shortcuts (in fact you can launch the Ease of Access centre with Windows logo key and U)
In the Ease of Access Centre, you can:
- Display text larger
- Make your pointer larger and more colourful (this is very useful for screen sharing during live lessons)
- Add a text cursor.
- Turn on magnifier (or use Windows key and plus sign – minus to reduce)
- Turn on narrator (or use Windows key, ctrl and Enter) to narrate everything on the screen.
- Enable closed captions.
- Add colour filters.
You can also enable dictation (by pressing Windows key and H) and even text prediction (in device settings -typing – text suggestions).
The key is raising awareness about these settings to students and other educators. I remember when I first started working with a student with a severe visual impairment, they had been given a larger monitor previously by the school as an accommodation. Whilst it had minimal benefit, it was nothing compared to when I enabled the magnifier. I encourage you to explore the accessibility settings on your device and your student devices. They can make such a difference.
The Apps
Whilst there are many excellent apps out there, I tend to opt for a ‘less is more’ approach and feel it is better to master a few rather than trying to take them all on, losing the key focus which should be ‘how can this benefit the learning process.’ With that in mind, there is ‘one’ app that I always advise as the first app to begin with:
1) OneNote
I first started using OneNote in 2014 when it was described to me as a digital ‘jotter’ (which is what we call notebooks in Scotland) and it was exactly what I had been looking for. Shortly after that, I learned about Class Notebook and I was immediately hooked. If I were to choose one app that has had the single biggest impact on the students, I have worked with it would have to be OneNote.
There are so many incredible features built into OneNote to make learning more accessible: Ink to Shape, Ink to Text ruler (that allows you draw actual straight lines – I really struggled with this as a kid on paper…and still do), Dictate, Audio Notes, Page colours, Translate, Rule Lines and, of course, Immersive Reader.
I previously worked with a student with dysgraphia who found completing maths calculations difficult on paper due to the size of the boxes. The accommodation in class was to give him larger paper, often blowing up worksheets to a much larger size. This was problematic due to the lack of space on his desk (and often drew attention too). I then showed him how by using rule lines in OneNote and changing to a square grid, he could make the squares as large as he wanted. As he was using an iPad with the Apple Pencil already, this was the perfect solution (and made the life of the teacher much easier too).
Many of the students I previously worked with had dyslexia and would find organising and sequencing difficult. This is where OneNote was so useful as I was able to create and scaffold their notebook with them. A notebook for each subject with sections meant they no longer had files and photos of the whiteboard scattered everywhere. The fact that it is now integrated directly into Microsoft Teams as a central learning hub raises the bar even higher.
One of the highlights of my teaching career happened recently when I first saw a student after our return to school in September. I hadn’t seen him since March and prior to that I had been working with him once a week supporting him to use OneNote and Microsoft Lens (which we will come to shortly) to support his dyslexia. He told me that he used the time during lockdown to start work on his very first science fiction novel (he had come to me to ask for help in sending it to his English teacher for her comments). He then thanked me as he had always dreamt of becoming a science fiction writer, but he never thought that would ever be possible because of his dyslexia. The combination of Immersive Reader and Dictate had now made this possible and more importantly, completely independently. I look forward to the day I read his first publication.
2) Microsoft Lens
At the last school I taught at, access to devices was rather limited and much of the work was done on paper. I immediately asked him to download Office Lens (now called Microsoft Lens). With a few clicks, he was able to scan the document he had been asked to read, convert to text using the OCR feature and access Immersive Reader. It can even be sent to OneNote for filing and use with Immersive Reader later.
With Microsoft Lens, we were also able to establish that he would benefit from a coloured overlay by testing out the different themes – something he had never realised before. This was another unexpected benefit. In terms of making learning accessible to all, Microsoft Lens is such an important app that can truly benefit all learners.
3) Flipgrid
Flipgrid was an app I had initially dismissed working in the field of additional support needs. I had (wrongly) assumed it was an app for the cool and confident kids. It was the buzz around the app on social media that got me to reconsider and attending a MIE Expert Meet up in London where Adam Parker Goldberg from the Flipgrid term delivered a presentation on Flipgrid as part of the agenda. His enthusiasm that day was infectious.
The breakthrough came for me when first I started working with a student who completely refused to engage with any form of learning. Many strategies had been tried but to no avail. One day I demonstrated Flipgrid to him and he was immediately hooked. The feature that enticed him was the drawing features combined with the ability to record video. He saw himself as a YouTuber, recording short animations. The most important thing was that he was meeting the learning intentions. The reason he had been refusing to work previously was that it was an avoidance tactic due to his literacy difficulties but now he had a platform where he could share his voice.
From then on, the student would regularly ask “Can I make one of those ‘rubbish’ drawing videos today?” (i.e., can I make a Flipgrid video today). I continued to use Flipgrid with other students and was amazed by its impact. I worked with students with complex needs, and it was so rewarding to see how well they engaged with the platform and shared their learning in so many diverse and interesting ways.
Whilst these are the core apps that I would use to support my students, there are several other apps that would were very beneficial in my classroom. These include Wakelet (for curating resources and collaborating with Buncee (for creating fun presentations) and Thinglink (for interactive displays). Best of all, Immersive Reader is available in each one too.
RECOMMENDED: https://global-edtech.com/category/community/
The Strategies
Here are some of my key recommendations when considering how to make learning accessible for all:
1) Inclusivity from the start
As a teacher, I would always consider ‘can everyone in my class access the learning.?’ Do they have the tools they need? Is there the opportunity for variation within the task and equitable access? This is where the apps mentioned previously are so beneficial. With any resources I am producing or sharing, I always review them to make sure I am not unintentionally placing any barriers between my students and success. Simple steps such as using the Accessibility Checker in OneNote or on PowerPoint Slide Decks can make a big difference.
2) Chunking Things Down
When providing training or advising colleagues about supporting students with additional support needs, I will often be heard saying ‘it’s much better to get 10 minutes of good quality work from the students than struggle on for 40 odd minutes and get nowhere.’ This is especially important due to remote learning. Many of the students I previously worked with often had co-occurring difficulties which meant that too many instructions and detail would make the task inaccessible to them. I would try and focus on one step, one instruction, one action at a time followed by several short comfort breaks. At the end of lesson, I would always focus on what had been completed and achieved rather than what we hadn’t done.
3) Building Relationships
As mentioned previously there is never a quick fix or ‘one size fits all’ approach. It can take time to get to know your students and more importantly, for your students to get you know and trust you. I have worked with students that have displayed some very challenging behaviours in the past and the best advice I can give is to take the time to know the students and identify what the main barriers are. Only then can you start to build trust.
Building relationships has been made even more difficult during the current situation, nevertheless there are still several ways to build relationships, not only between yourself and the student, but between their peers as well, such as chat channels in Microsoft teams (as a safe online space), online quizzes and fun Flipgrid topics.
Making learning accessible for all starts with empathy from educators and a willingness to listen and learn from each other. We must continue to intentionally include so as not to unintentionally exclude.


0 Comments